| |
Contents:
For MLCad, the installation process for Virtual Minibrix took the default option of all the Minibrix parts appearing under the letter “X” in “Other Parts”, However, if you wish, you can add a separate section labelled “Minibrix” to contain them.
All you need to do is:
|
Open MLCad. |
|
Select “Settings” then “Parts Tree” and then “Tree configuration...” from the menu:
|
|
In the box that pops up, type “Minibrix” in the “Name” box, and type “<x_” in the “Search string” box. |
|
Press “OK” to add the new definition to the list. |
Normally, to lay tiles on Double Angle Bricks, you have to shuffle each completed row into its correct position using the Fine grid setting. If you are laying a particularly large roof you may find it more convenient to temporarily change the Medium grid setting to match their odd spacing.
Select “Settings” then “General” then “Change...” from the menu:

In the dialog that opens select the “Step, Grid, Snap” tab. Change the values in the “Default for grid medium” row (the middle row) to be one of the following, depending which way the tiles slope.
Slope along the X axis:
|
| ||||||||||||
|
|
Don’t forget to change the values back again when you have finished:
| X Step units = | 16 | |
| Y Step units = | 24 | |
| Z Step units = | 16 | |
| Rotation angle = | 90 |
In 1939 the Premo Rubber Company (the manufacturers of Minibrix) took out a couple of patents on some new parts. These were never put into production, but they are available in Virtual Minibrix, should you wish to experiment with them. The first patent is for the corbel, a support for a small overhanging balcony or similar structure. The second is for a set of channelled bricks and a series of long, rigid beams that they clip over to form suspended beams, archways, doorways etc..
Here are some examples of the corbel in use:
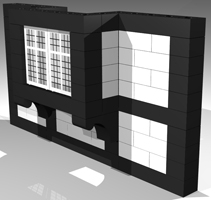 |
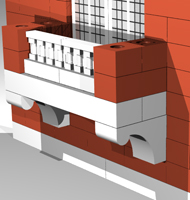 |
and here are some examples of the channel bricks and beams in use to create long,
suspended structures:
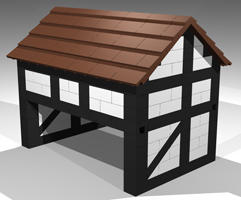 |
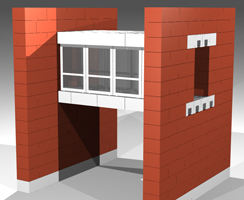 |
You could even use both together:
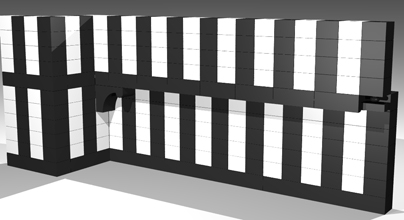
The slot underneath the channelled bricks fits both the rigid beams and the regular
brick studs. The slot on the top holds the pips of the doors and windows. It is not obvious
why they decided on continuous slots rather than the usual individual holes, but maybe
somebody will find an advantage of this design.
 |
 |
|
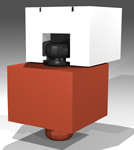
Channel Brick clipped over beam |
Channel Brick clipped over brick and universal pin |
| |
 |
Page last updated 2 August 2009 |
 |